.png?width=200&height=89&name=CC%20logo%20blue-1%20(1).png)
Administrators can configure the primary and secondary logos via the provided API endpoints. This option allows for a more streamlined experience when updating your site's branding. These API endpoints work for sites that have the Showcase page enabled.
🔔Note: Site administrator permissions are required to update site logos.
Primary & Secondary Logos
The primary and secondary logos sit within the header section of the site's showcase page.
Logo images can be PNG, JPG or SVG format with a maximum file size of 2MB.
We recommend logos that render at 70px height.

How to Configure Logos
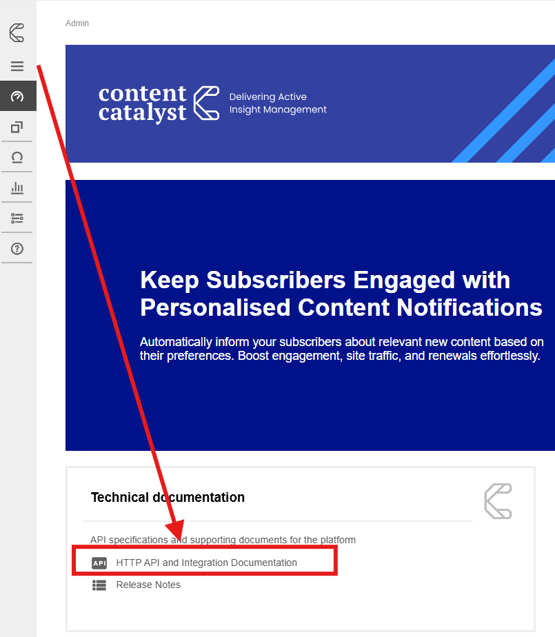
🔔Note: See the API: Application Programming Interfaces article to familiarise yourself with APIs in Content Catalyst.

GET /header-logo/files
POST /header-logo/files
DELETE /header-logo/files{logoId}
GET /header-logo/primary
PUT /header-logo/primary
DELETE /header-logo/primary
GET /header-logo/secondary
PUT /header-logo/secondary/accounts/{accountName}
DELETE /header-logo/secondary/accounts/{accountName}
PUT /header-logo/secondary/global
DELETE /header-logo/secondary/global
PUT /header-logo/secondary/subscribers/{username}
DELETE /header-logo/secondary/subscribers/{username}
To use any of these endpoints, select the dropdown arrow to expand the parameters and select the 'Try it out' option. See below:

Example: Uploading an image
The following example shows how upload a logo image. Logos uploaded via this API are stored in a library.
This process applies to all logo images used throughout the site.
Choose the logo image PNG, JPG or SVG format with a maximum filesize of 2MB.

See below:

🔔Note: Keep a note of the image ID for future reference when applying the logo.
Example: Applying a primary header logo globally
The following example shows how to apply a primary logo globally to all accounts.
Select the query PUT /header-logo/primary
In the query 'body' section, replace the "string" value with the Image ID wrapped in quotation marks and separated by commas that you wish to add as the primary header logo.

Select the 'Execute' option to run the query.
🔔Note: Changes may not appear immediatly due to browser caching. We recommend clearing the browser cache after applying a logo.
The primary logo will now be updated globally throughout the site.

Example: Applying a secondary logo per account
The following example shows how to apply a secondary logo to a specific account.
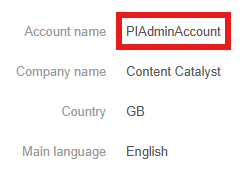
Select the query PUT /header-logo/secondary/accounts/{accountName}

Testing a user from the selected account will show the secondary logo updated for the chosen account.

Applying the Logo to a user requires the Username instead of the AccountName.

🔔Note: See Testing a User for testing the account or user Logo change on your site.
Example: deleting a secondary logo for an account.
The following example shows how to delete a logo.
Select DELETE /header-logo/secondary/accounts/{accountName}
Use the AccountName, for example

Select the 'Execute' option to run the query.

The Secondary Logo will be removed.
The DELETE API method deletes the association but not the underlying logo files, which will still be available by their ID's from the library.
For any further changes to branding please contact us via support@contentcatalyst.com.