.png?width=200&height=89&name=CC%20logo%20blue-1%20(1).png)
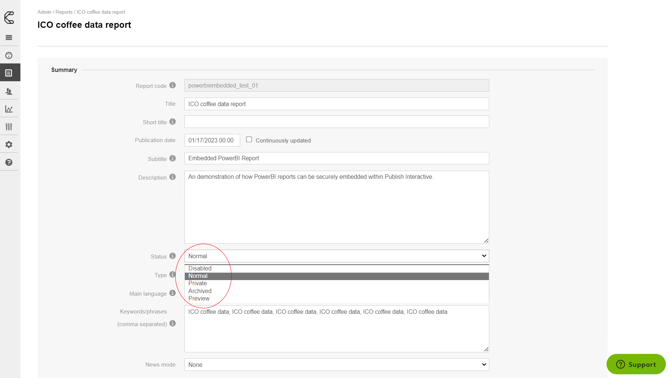
There are several options for report status:
New
This is the status of the report when it is first created, and no status has been previously set. This is part of the workflow tool to allow Analysts to add and edit the content.
Disabled
A report with this status is invisible to end users - it only shows in the admin area. Use this status for placeholders or old content you're removing.
Normal
This is the normal setting for interactive content. Users who have a license will see the content as usual - other users who don't have a license will see the report's marketing page.
Private
Reports with this status will not show marketing pages and are effectively invisible to users who don't have a license. As a result, 'private' reports have no marketing page. This setting is often used for content created for a specific company/account.
Private reports will not show up on the Showcase page unless they are specifically licensed via single-title licenses.
🔔 Note: Private reports are excluded from category (group) licenses.
Archived
Older content can be set to 'archived' - this adds a flag next to the report's title and removes it from normal searches.
Preview
For reports that have not yet been published or do not yet have content available. Preview reports are marked 'coming soon' and can be filtered in search results.
There are some extra statuses that are a part of the Workflow tool. For more information, review the Workflow Tool article here.
How do I set a report's status?
This can be found when editing a report's summary details.
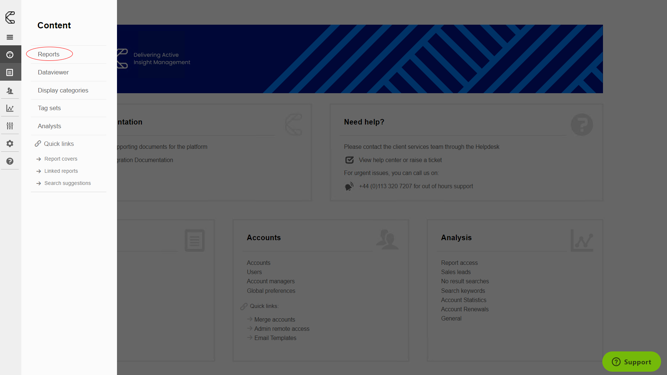
1. Go to the Reports section of the admin interface.
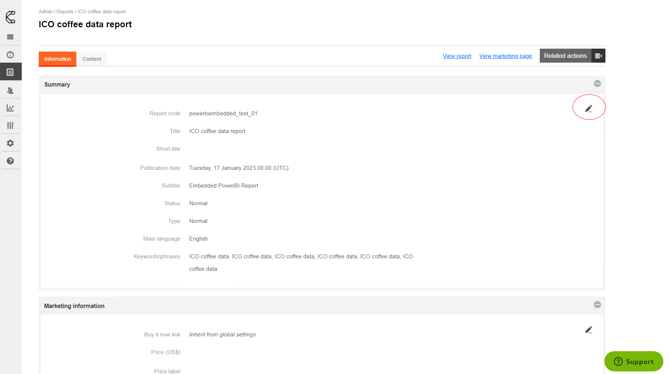
2. Select the report and then click the pen icon in the Report's summary section.
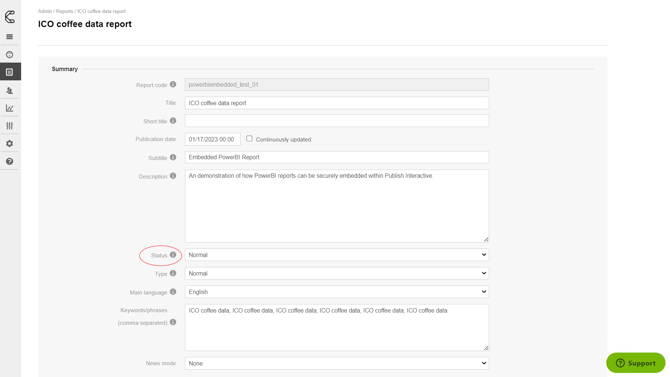
3. Scroll down to the Status section and select Change Status.
4. It will take you to the Admin report landing page. Click the green Publish button.

6. Here you can select the status and if you wish to publish the article now or to schedule it later.
Editing the Status once Published
Once you have published your content, you can still make changes to the status.
1. Simply head to the Report's admin page and click the pen icon.

2. Head to the Status section and set the required status.
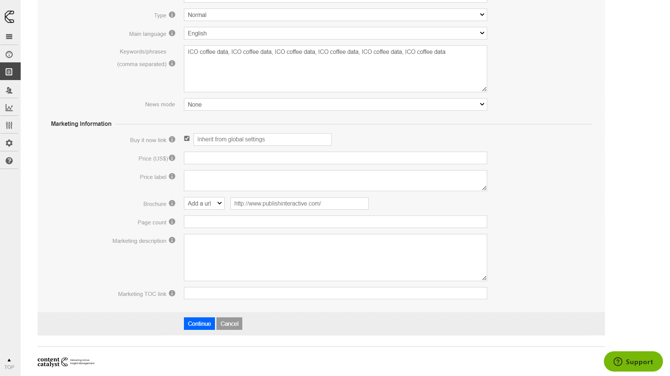
3. Scroll down to the bottom and click Continue.