.png?width=200&height=89&name=CC%20logo%20blue-1%20(1).png)
🔔 Tags can be used to help users easily find related pieces of content. You can learn more about tags and how they differ from categories here.
Grouping related tags together make them easier to find. Up to five tag sets can be created across a publisher’s portfolio.
To create a tag set, follow these steps:
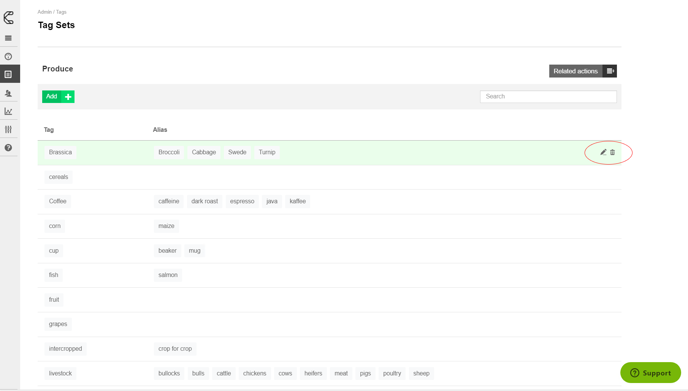
1. Head to the Admin area > Content > Tag Sets.
.png?quality=high&width=688&height=391&name=Group%2013%20(1).png)
2. Click Add to create a set of tags.
.png?quality=high&width=688&height=386&name=Group%2014%20(2).png)
3. Choose a name for your tag set and click Save.
4. Click the tag set. Click Add and choose your tag name. You can then choose to Add new alias. This is to be used when there is more than one word that can be used for a tag. You can choose as many aliases as you wish. You can delete them by clicking the trash icon to the right.
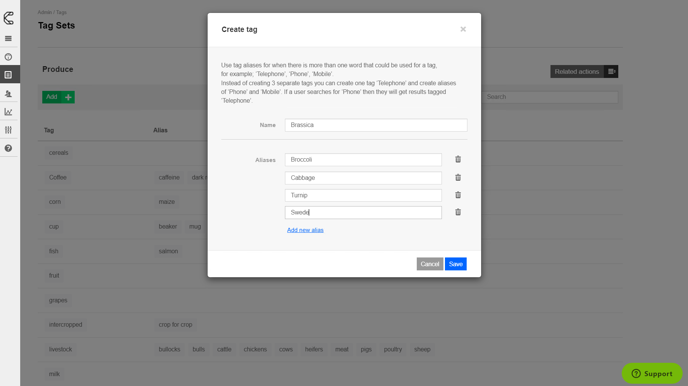
5. Once you have added the tag name and its alias(es), click Save. The tags are now displayed in the tag set, with its aliases alongside it.
.png?quality=high&width=688&height=392&name=Group%2015%20(1).png)
If a user searches an alias tag, it will also display results for the linked tag within the same search.
Another benefit is that any related word or phrase that has been turned into a Tag will now pop up as an auto-suggest option whilst the user types in the search box.
Tags can be assigned to a specific report at any time. To find out more, click here.
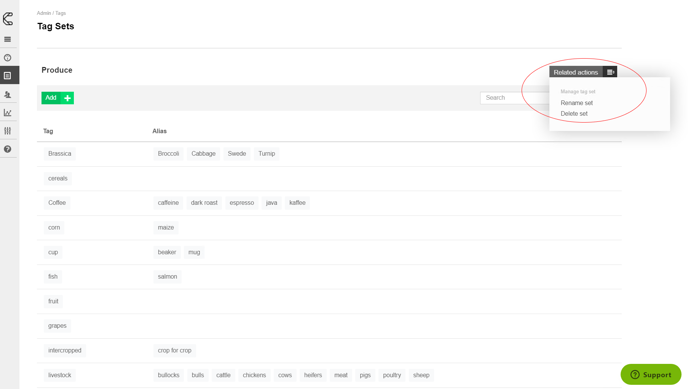
Renaming or Deleting a Tag Set
If you wish to rename or delete a tag set you need to click on the tag set and select Related Actions. From here you can rename or delete the tag set.
To edit or delete individual tags, hover over the tag and select the required icon on the right-hand side.