.png?width=200&height=89&name=CC%20logo%20blue-1%20(1).png)
Read this article to understand how to:
- Create Instant Insights and add metadata
- Add Display Categories, Tags, Analysts, and Report Covers to Instant Insights
- Upload Instant Insights Content
In essence, Instant Insights are summary reports which provide deeper insight and analysis than is available through a news report.
🚨 Within the platform, Instant Insights are delivered in the same way as interactive reports. They can support multiple content formats; however, they have no landing page or content summary. They have a word limit of 2500.
Creating Instant Insights and adding metadata
1. Head to the Admin > Content > Reports > Add new report > Add new briefing.
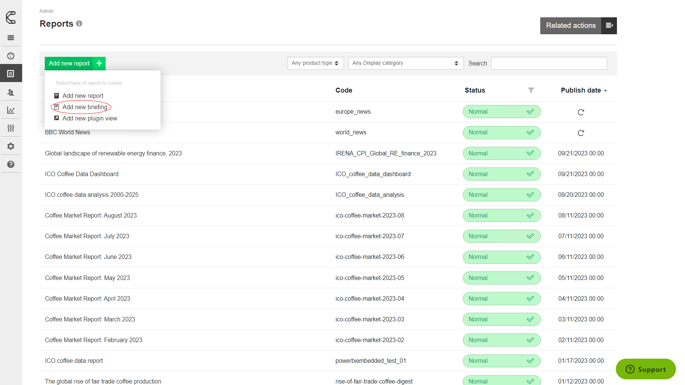
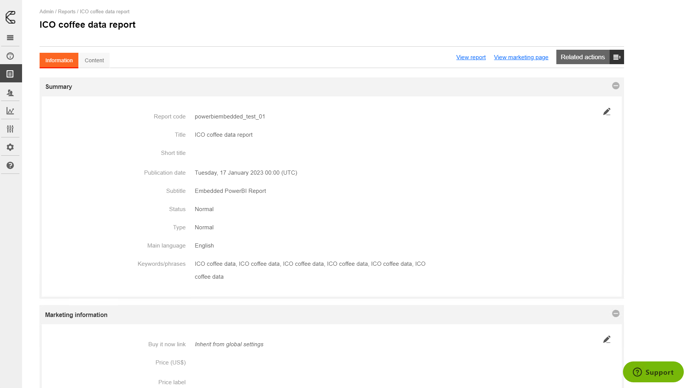
2. Fill out the following information (you don't need to populate every field).
Report Code - The unique code identifier for this report.
Main Language - The main language that this report is written in.
Title - The title of the report.
Short title - An optional shorter title, used in place of the full title when displaying a report series.
Sub-title - The sub-title of the report.
Report Description - An overview of the report's content. As Instant Insights do not have a landing page, this is only visible in the detail view in the research tab.
Marketing Description - Shown in addition to the report description for unlicensed users.
Brochure - Extra marketing information for your customers such as a link to a brochure (if required).
Marketing TOC Link - An alternative Table of Contents page or file, perhaps containing more detail, that might be hosted elsewhere (if required).
Price - Used to generate site statistics - not the price that's shown to customers.
Price Label - The price that's shown to users on the report marketing pages. This can contain any information, not just a simple price, e.g. 'Contact us for pricing'.
Published Date - The date the report was or will be published. There is also a Continuously Updated checkbox, for reports that are regularly updated.
Status - This affects the way a report appears in search results. One of the following options must be selected:
- Disable - These reports are never visible to client users; only to admin users within in the admin area.
- Normal - This setting is used for the vast majority of reports. They are fully interactive and appear in search results by default.
- Private - This option is most often used for proprietary reports. Reports set to Private only appear in the search results for users who have licenses for them.
- Archive - This setting is used to separate old or superseded reports and exclude them from default search results. Users can select to include archived reports in search results by selecting a filter.
- Preview - This setting is used for reports that have not yet been published. Users will be able to see the placeholder and front page of reports that are published but set to Preview.
Keywords/phrases - Keywords or phrases can be used to boost a report's position in results for certain search terms. Each keyword or phrase needs to be separated by commas.
Buy it now link - This is a link for the optional Buy it now button on the product's marketing page. This can be configured to pass the value from the Price field to an e-commerce site.
3. Click Continue.
4. Here, you can add Categories, Tags, Analysts and a Cover to your Instant Insight. You will also see that the Report Description and Marketing Description are still available to edit from this page.
Display Categories
1. To add or edit the display categories click the pen icon in the Display Categories section.
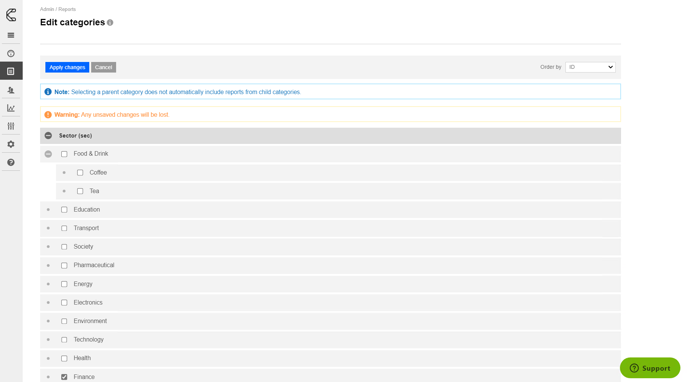
2. Select the tick box for the category/categories you'd like to assign to your report. This can include hidden categories (corresponding to access levels or internal organising) and visible categories to help users find the Instant Insights.
3. Click Apply changes.
Note: Categories, Tags and Analysts need to be created before you can assign them to reports. Click here for more information about adding categories to your platform.
Tags
Tags behave differently to categories and can be used to indicate fields of interest covered in the Instant Insight, as they can be applied to multiple reports within the same category tree. Click here to find out more about tags.
1. To set up a tag, click the pen icon in the Tags section.
2. Start typing in the required tag and select it as it appears.
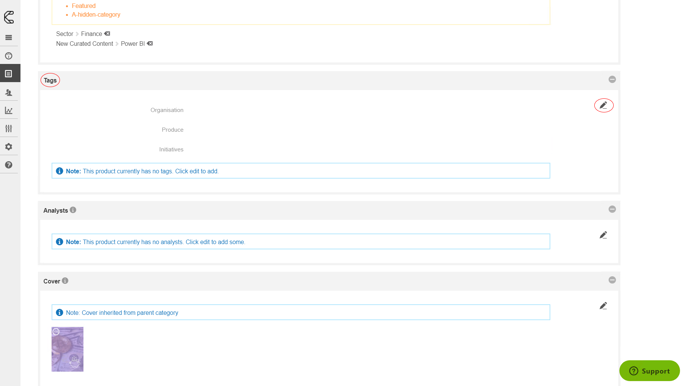
3. Once you have selected the relevant tags, click Save.
Analysts
1. To add an analyst to this Instant Insight, click the pen icon in the Analyst section. More than one Analyst can be added.
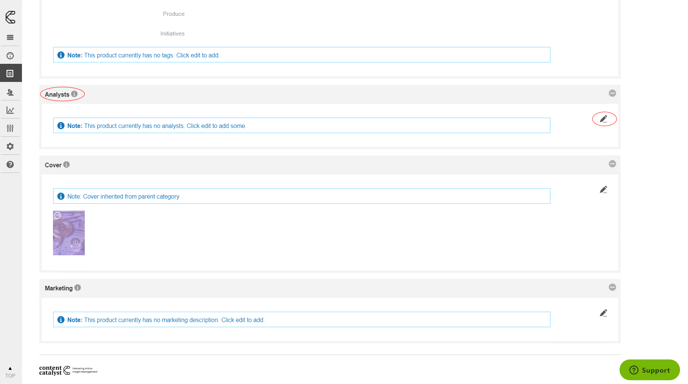
2. Once you have added the Analysts click Save. The Analyst will appear in the Report info section. Click here for information on how to add a new analyst to your platform.
Report Cover
1. To edit the report cover, click the pen icon in the Cover section.
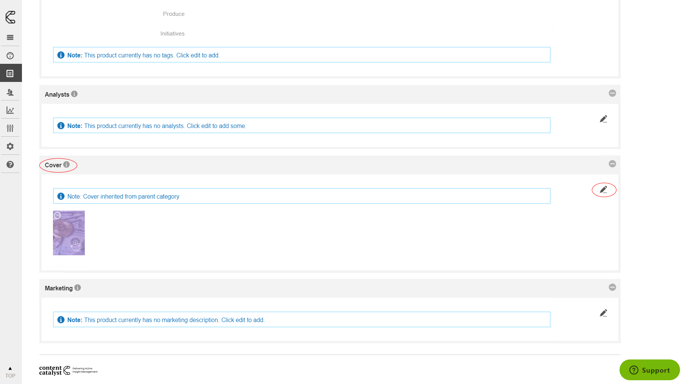
2. From here, you can one of your existing covers or create new cover. More information on how to use this is available. Click here for more information about creating report covers.
3. Click Continue.
Uploading your content
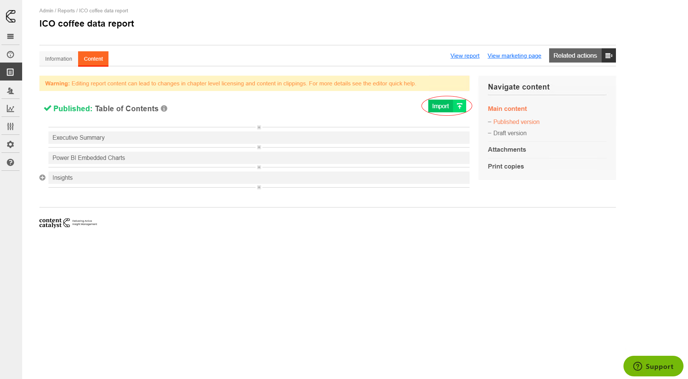
1. To add the content of the Instant Insight, click the Content tab.
🔔 Please note: Instant Insights have a word limit of 2500.
2. Click the green Import button.
3. You can click and drag your Instant Insights or click the cloud button to upload.
🚨 When the import is complete you may be presented with a list of warnings - these will describe any unsupported content or edits made by the import process. These can easily be checked by selecting Download imported document containing in-line comments highlighting errors and warnings.
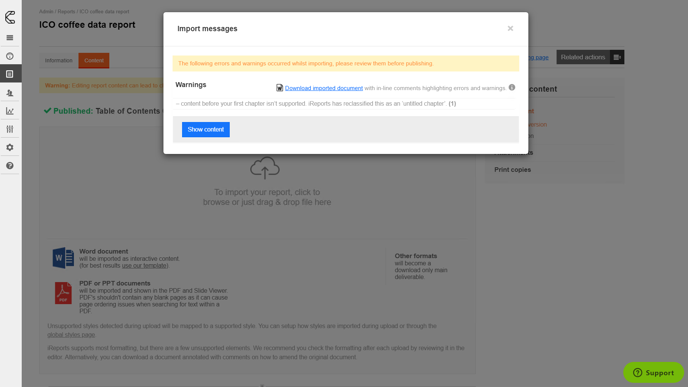
5. Click Show Content and it will load up the Instant Insight in the Chapter editor.
6. If you are happy with how it looks, click Save and Close.
7. Click the blue Publish button.